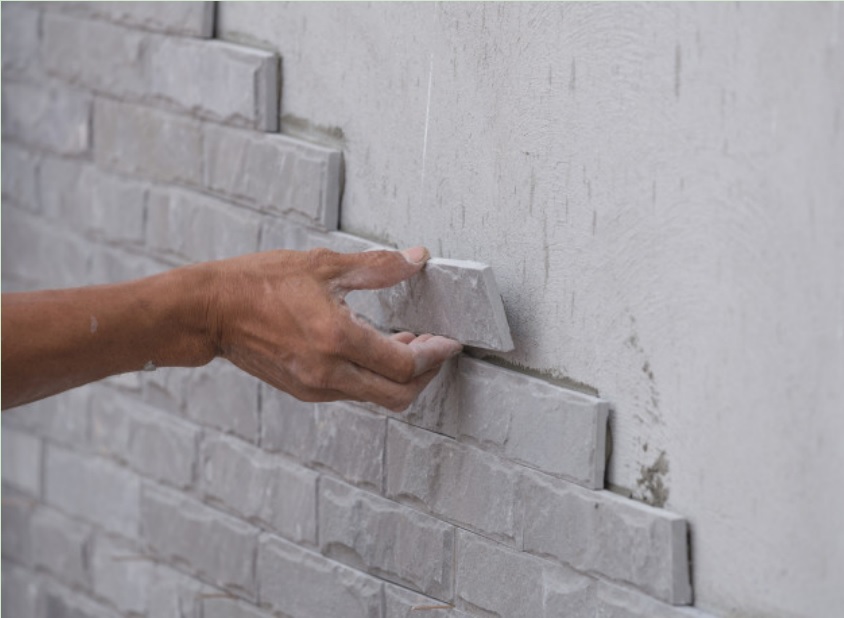
Tiles are one of the most used materials in home decor. They can easily glow up a home with minimal effort. Due to their cost effectiveness, large range of choosing options, easy installation, and low maintenance cost, people all around the world have invited them into their homes cordially. During this pandemic, we have seen many people have utilized their time in redecorating their homes. That resulted in many amazing DIY tiles projects, and honestly, we are obsessed. So, if you are looking for some tips to do a tile project all by yourself, this article will help you greatly. Here, we are giving you five important tips that will help you achieve the best result within a short time and enjoy your creative persona to its fullest.

Tips For Installing Your Tiles
#Tip 1: Keep your tools handy. Before starting your tiling project, you should gather all the necessary tools. Some tools may not be too important that you can’t start your tiling project without them. However, they can shrink your struggle and help you perform some time-consuming work without breaking a sweat. Also, you should highly consider using safety gadgets to protect yourself from potential harm. For your ease, we are giving you a list of necessary tools that you may require.
- Notched trowel (A margin trowel can be your best friend)
- Grout float
- Wet saw
- Spacers
- Buckets
- Grout sponges
- Tape
- Utility knife
- Tile nippers
- Chalk line
- Bubble levels
- Rubber mallet
- Drill/drivers
Also, the following materials will be required to install the tiles in your home.
- Caulk
- Grout
- Grout sealer
- Mastic
- Outlet extenders
- Stone tile sealer (if you are installing stone tiles)
#Tip 2: Always envision your design before installing the tiles. If required, sketch it out on paper. Start from a corner and work your way over. Use the chalk line to keep the tiles in a line. Zigzagging tiles may seem clumsy and ruin the aesthetics of the space completely if not done well. Shape the tiles according to space. Some tiles may need cutting and notching to fit properly. Carefully mark the tiles where it needs to be cut and use the cutting tools. If you need to cut a chunk in the tiles, first cut some horizontal lines along the line, then the existing area will be easier to remove. When tiling a wall or a backsplash, there may be utility outlets in your workspace. Mark the tile that will fall on that space and cut it out carefully.
#Tip 3: Apply mastic in the whole bottom surface of the tile. Some of you may like to apply the mastic in the five spots or on the wall. However, applying it all over the surface will make it more durable and long-lasting. Put some zigzag line before putting the tiles on the designated area. It will grab the surface tightly. Put enough mastic to cover the whole tile area, but not too much that it overflows the tile. Check with the levelers after setting each tile. That will ensure if the complete result will have a plain surface or not.
#Tip 4: Put tile spacer to ensure each tile is in uniform distance. When working, always measure twice and cut and install once.
#Tip 5: Keep the tiles 24 hours untouched and soaked if possible to install properly. Then grout it with an angular too and for motion. Wipe the whole tile surface after 15 minutes. Then cluck all the edges. Choose the color of the grout matched with the tiles. A contemporary color can also be good.
Things to be Considered
If this is your first DIY tiling project, there is a chance that you may not get an optimum result. However, practice makes a man perfect. Therefore, consider a smaller project for your first run. Then move onto a bigger project. Another thing, we often change our minds in between a project. However, it can royally mess up the whole project. Therefore, get a clear picture of what you want to do before starting working and stick to it. For your first project, choose larger and lighter tiles. You should trial your work in dry spaces, backsplashes, or floors. Then when you are confident enough, go for more challenging areas with challenging materials. This will boost your morale and beautify your home within no time.
If it’s your first work, it can get really frustrating. And you may want to call quit at some point. However, take your time and finish the job. It will be great for your future works and will give you a sense of accomplishment.
Finishing a DIY tiling project can be very satisfying for you. Moreover, your home will get a totally brand new vibe from your work. With practice, you’ll be able to style your home’s high trafficked areas in no time. So, what are you waiting for? Widen your creative mind and get armed for your DIY project.


