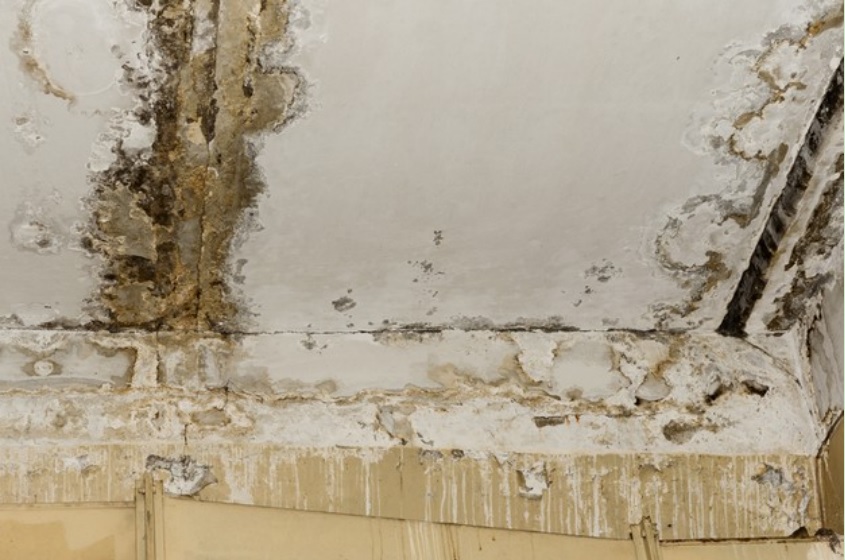
The roof is at the top of our home, and similarly, fixing the roof always must be at the top of our priority. If anything happens to the roof, especially if there is any leak on the roof, it must be fixed as soon as possible. A roof generally goes through lots of wear and tear, but you don’t always need to hire professionals to fix it. There can be many different types of roof damages Minor issues like leaks can be solved easily, you’ll need to track them down first. After tracking down, you’ll need to go through some measures to fix the leaks.
There are few methods of fixing a roof leak. You can fix the asphalt shingles of the roof and thus fix the leaks. Or, repairing damaged roll roofing, or replacing the damaged wood shakes, or just sealing the leaky joints. Here we’ll see how you can easily fix the leaks of your roof by repairing damaged roll roofing. There are 6 steps to finish the task. Now let’s dive into these six steps and see how you can easily fix the leaks of your roof.

Looking For Blisters or Cracks In The Roofing Material
The way you would fix a shingle roof, you will need to do exactly the same in this case. First, you need to check for damage on the exterior that is correlated with the water stains you have seen before on your ceiling. Then you have to look closely for small cracks around vents, joints, chimneys, or other stuff that come through your roof. There might be more obvious signs of the leaks, which include open splits in the roofing material and blisters of bubbles where air and water have been collected.
You can easily mend a small gap at a vent, joint, or chimney with any kind of roofing sealant. Any gaps that are wider than a quarter-inch, or blistered areas, or open splits need your attention, and you need to patch them. Also, mending minor damage to asphalt or rubber roll roofing is comparatively easier, just like shingle repairs. But, if you notice widespread wear, mold, water stains, mold, or rot on your roof or the ceiling, you must call a professional.
Cutting Any Blisters or Bubbles to Release Air and Water
You need to sweep away any gravel from the damaged area you are looking to fix, then carefully use a utility knife to slice through the middle of the blister. You need to cut through the blister only at the top layer of the roofing. But don’t cut the roof substrate or the fiberboard beneath the asphalt or rubber.
If the blister on your roof contained water, then you must soak it up with a dry rag. Allow the place to dry after thoroughly mopping up the water. Let it dry for 12 to 24 hours, but if you are in a rush, you can dry it out with a blow dryer. But make sure that it is completely dry before you start the repairing works. Blisters might often occur with leaks in roll roofing. If there’s no blister associated with the leaks, you can skip this step and directly proceed to mend the leak.
Spreading Sufficient Amount of Roofing Cement Under The Split
You have to inspect the fiberboard substrate that is beneath the tear in the asphalt or rubber. If the substrate is good, use a small trowel to apply cement of a heavy layer under the edges of the tear. You should push the cement as far under the edges as possible without further tearing the roofing material. If the fiberboard substrate isn’t in good condition, then you’ll need to replace that damaged section.
Replacing The Roofing Substrate
In case of a large and open seam, you’ll have to check the roof substrate beneath the asphalt or rubber for holes or rots. Use a straightedge and sharp utility knife to remove the damaged area if the substrate is failing. Then, carefully cut a rectangle-shaped section that will contain all the roofing material that is damaged. If there are any metal screws and washers that secure the roof substrate to the structure under it, then remove them.
Covering The Repaired Area WIth A Patch of Roll Roofing
You can cut a wider and longer patch of rubber or tar paper roll roofing than the mended section if there’s no need to replace the roof substrate. Then apply a sufficient layer of roof cement over the repaired tear, then just set the patch over the area covered with cement. But if you needed to replace the substrate, then add layers of rubber roll roofing until the area is flush with the roofing material.
And after setting the patch in place, lightly press it and drive roofing nails around the perimeter. Ensure that the nails you used to keep the patch in place don’t overlap with other hardware you used to hold the fiberboard substrate.
Adding A Final Layer of Roofing
After covering the mend using the patch, use a trowel to apply a heavy layer of cement over the repaired area. Spread cement over the perimeter of the patch, and cover the nail heads too. You can use a knife to feather the cement past the edges of the patch and try making a smooth surface that won’t absorb water.
Final Words
You can easily fix any leak on your roofs by going through these steps. You can also go for other methods easily, but this is one of the easiest. But make sure to call a professional if you hit any hurdle.


